English
 français
 Deutsch
 español
 italiano
 português


Box 24
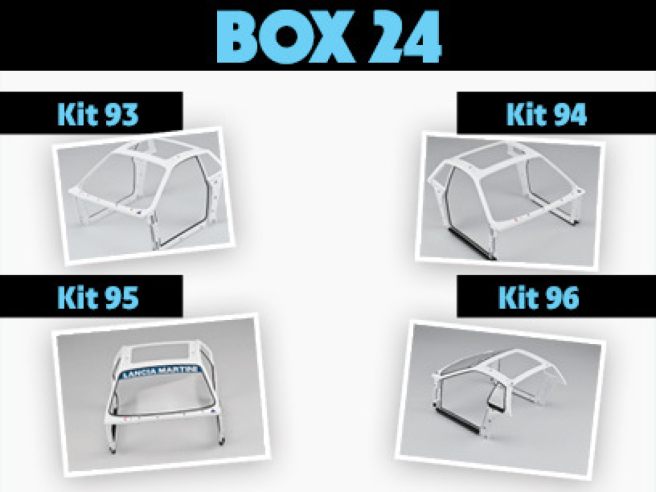
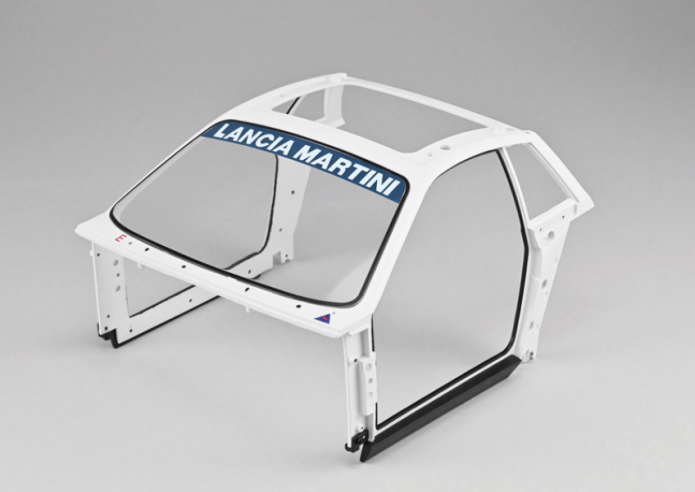
Kit 93 - Partie centrale de la carrosserie
Parts of kit
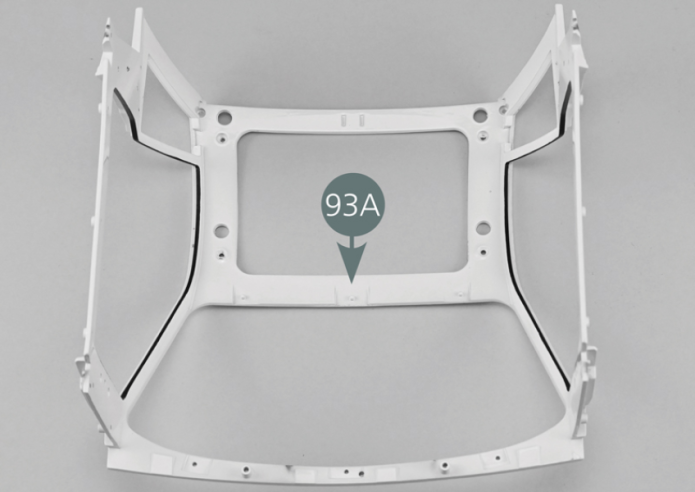
- 93A Partie centrale de la carrosserie

Etape 1
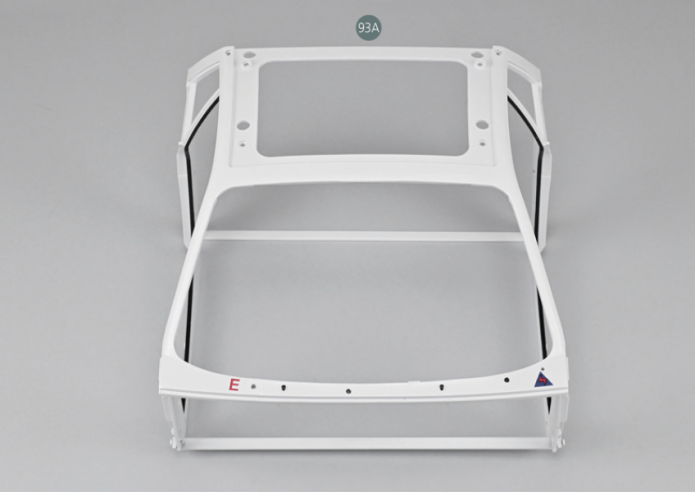
Positionner la partie centrale de la carrosserie 93A avec sa partie inférieure tournée vers le haut.
Retirer les quatre vis de fixation placées aux extrémités des barres de maintien avec un tournevis.
Ces barres n’étant pas utilisées par la suite sont à mettre de côté.
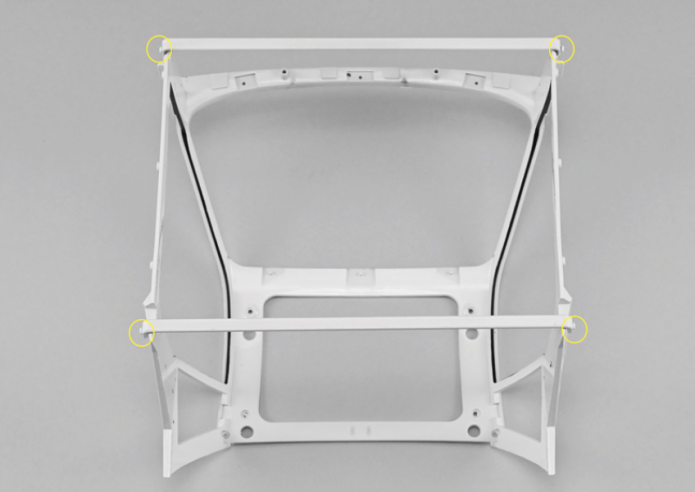
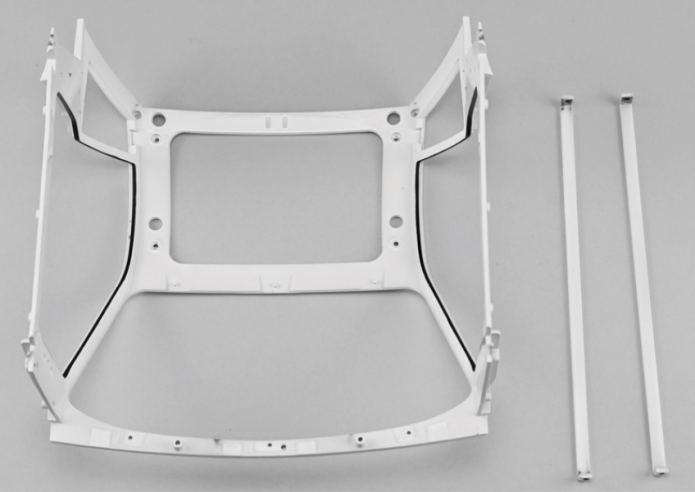
Position the central part of the body (93A) with its lower part facing upwards. Remove the four mounting screws placed at the ends of the support bars with a screwdriver. These bars will not be used later and should be put aside.
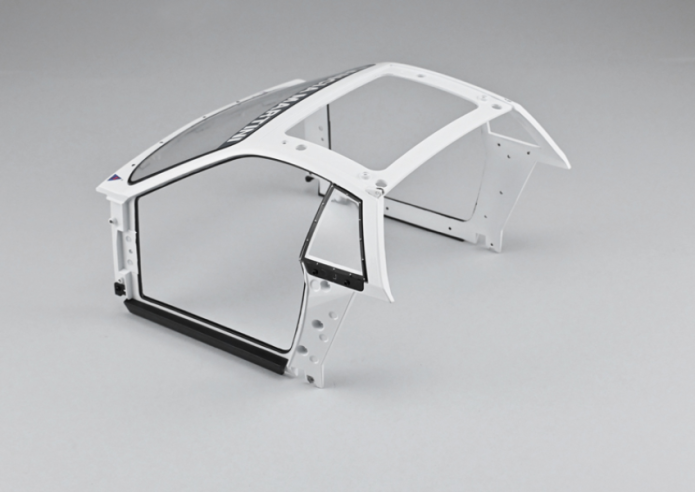
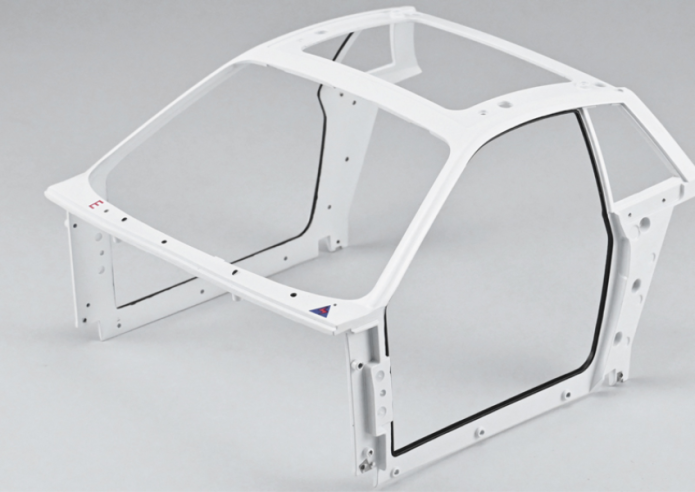
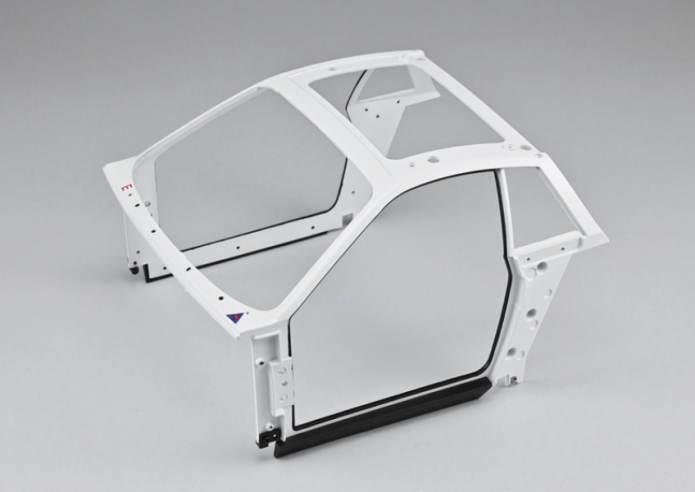
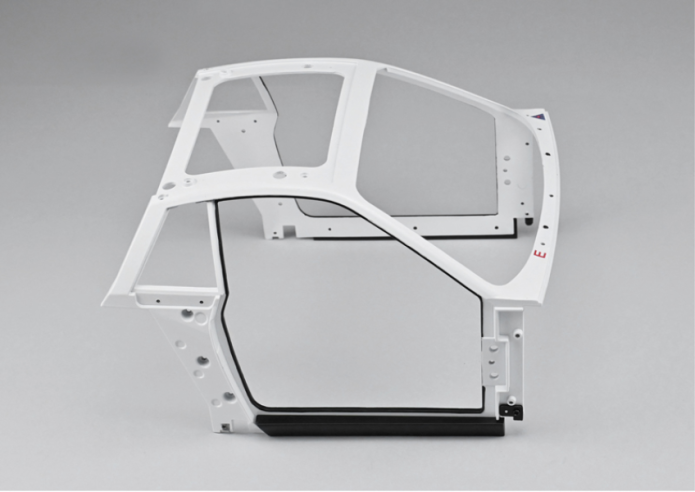
Vue générale

Kit 94 - Support avant et bas de caisse
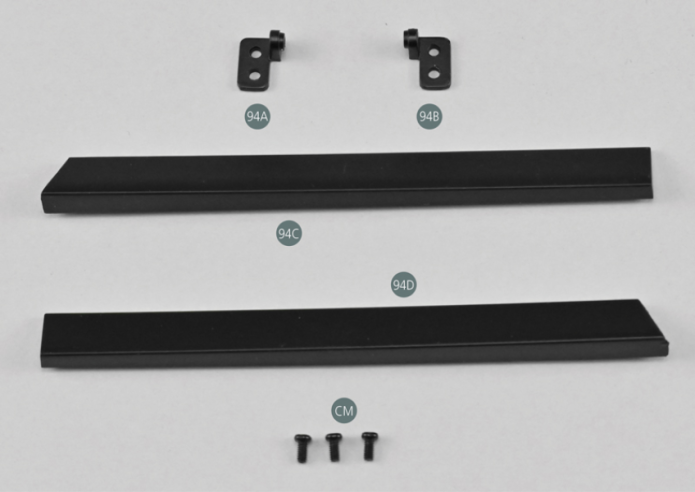
Parts of kit

Etape 1
- 94D Right rocker panel
- Screw CM M 2.0 x 4 mm (x 3)
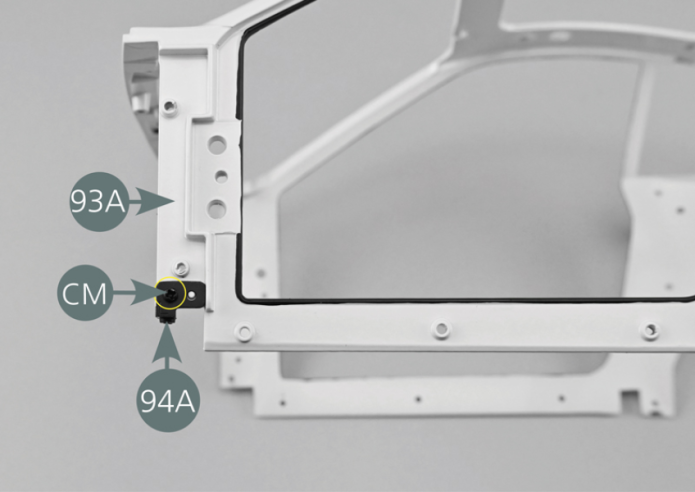
Positionner le support 94A sur le bas de la partie avant gauche de la carrosserie centrale 93A et le fixer avec une vis CM, comme indiqué sur la photo et le fixer avec une vis CM.
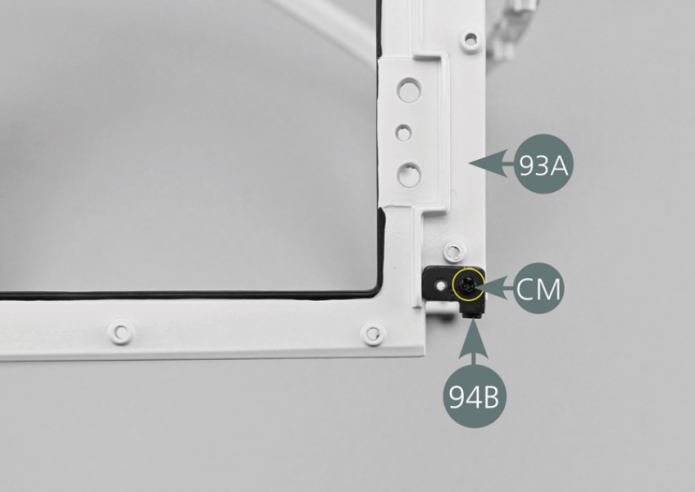
Positionner ensuite le support 94B sur le bas de la partie avant droite de la carrosserie centrale 93A et le fixer avec une vis CM.
Etape 2
Then position the bracket (94B) on the bottom of the right front part of the central body (93A) and secure with a CM screw.

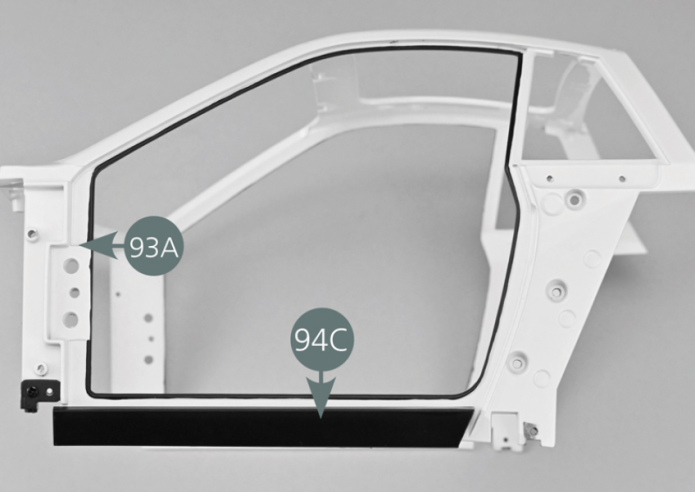
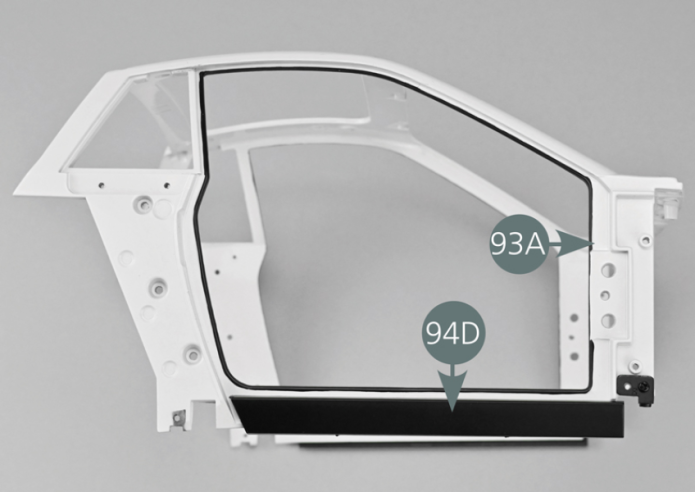
Positionner le bas de caisse gauche 94C sur les trois trous situés sur la partie inférieure gauche de la carrosserie 93A (sous l’ouverture de la portière) comme indiqué sur la photo.
Positionner ensuite le bas de caisse droit 94D sur les trois trous situés sur la partie inférieure droite de la carrosserie 93A (sous l’ouverture de la portière).
Vue générale
Then position the right rocker panel (94D) into the three openings located on the lower right part of the body (93A) (below the door opening).


Kit 95 - Pare-brise
Parts of kit
Etape 1
- Screw AM M 1.7 x 4 mm (x 4)
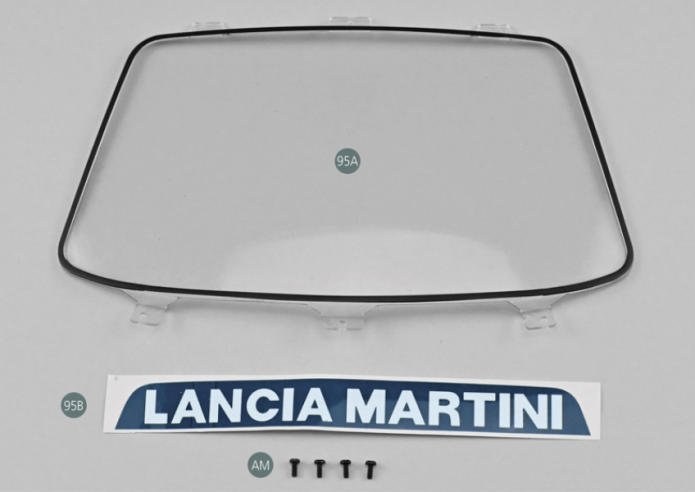
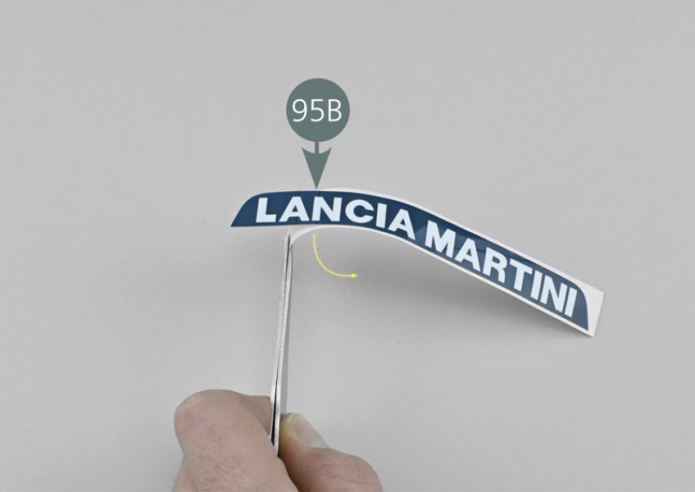
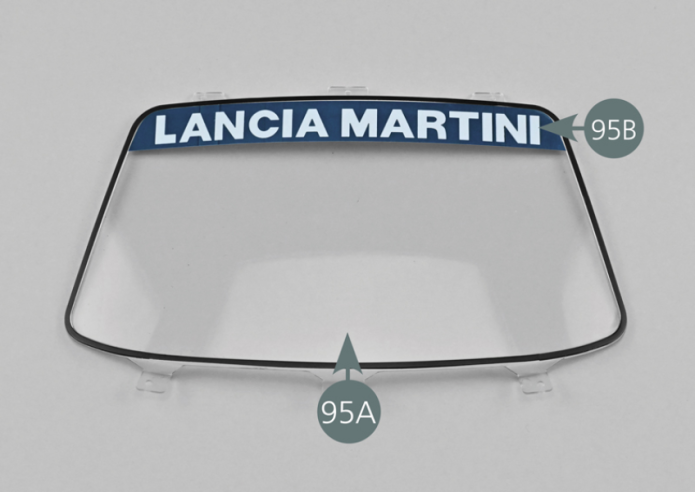
Détacher l’autocollant 95B de son support papier en veillant à ne pas toucher à la surface adhésive.
Positionner l’autocollant en haut de la surface extérieure du pare-brise 95A en le plaçant le plus près possible du bord noir (joint de pare-brise).

Etape 2
Remove the decal (95B) from its paper backing, DO NOT touch the adhesive surface. Position the sticker at the top of the outer surface of the windshield (95A) by placing it as close as possible to the black edge (windshield seal).

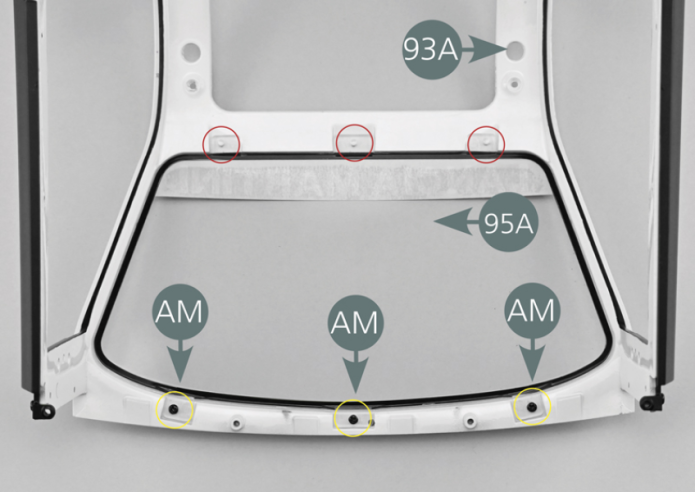
Retourner la partie centrale de la carrosserie 93A et insérer le pare-brise 95A par l’intérieur en positionnant les trois tétons situés sur la carrosserie dans les trous prévus (cercles rouges) sur le pare-brise.
Fixer le pare-brise avec trois vis AM (cercle jaune) en serrant délicatement afin de ne pas casser les pattes de fixation.
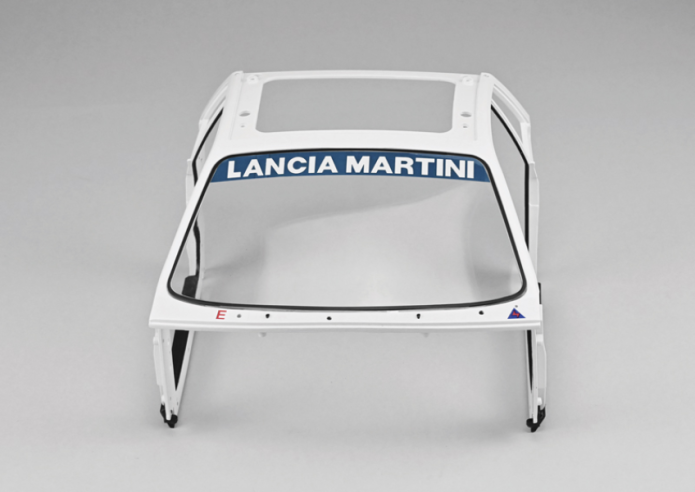
Vue générale
Flip the central part of the bodywork (93A) and insert the windshield (95A) from the inside by positioning the three pins located on the bodywork into the openings provided (red circles) on the windshield. Secure the windshield with three AM screws (yellow circle) by tightening gently so as not to break the fixing tabs.
Kit 96 - Glace de custode arrière gauche
Parts of kit

Etape 1
- Screw AM M 1.7 x 4 mm (x 3)
- Screw SM M 1.7 x 3 mm (x 2)

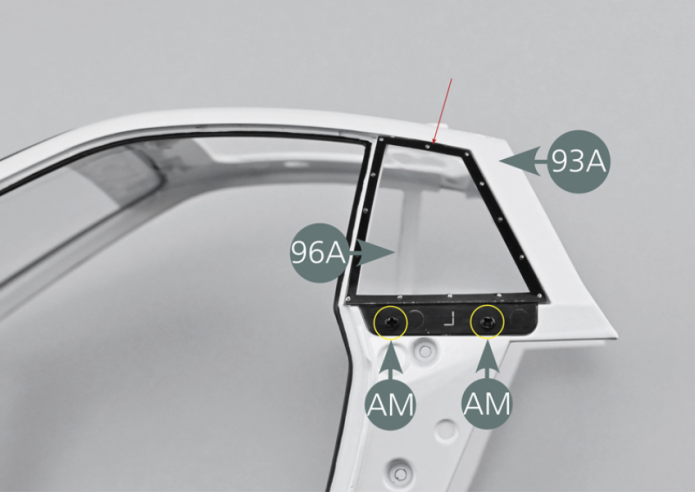
Positionner la glace de custode arrière gauche 96A sur la carrosserie centrale 93A en insérant d’abord la partie supérieure (flèche rouge), puis fixer la glace avec deux vis AM sur la partie inférieure (cercles jaunes).
Etape 2
Position the left rear quarter window (96A) on the central body (93A) by first inserting the upper part (red arrow), then secure the window with two AM screws on the lower part (yellow circles).

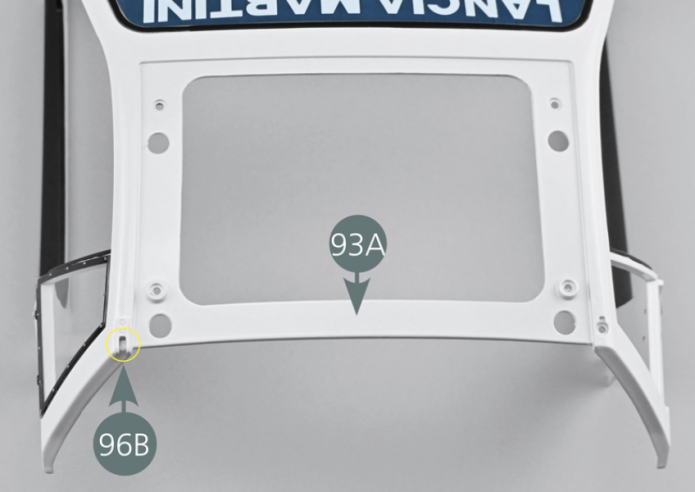
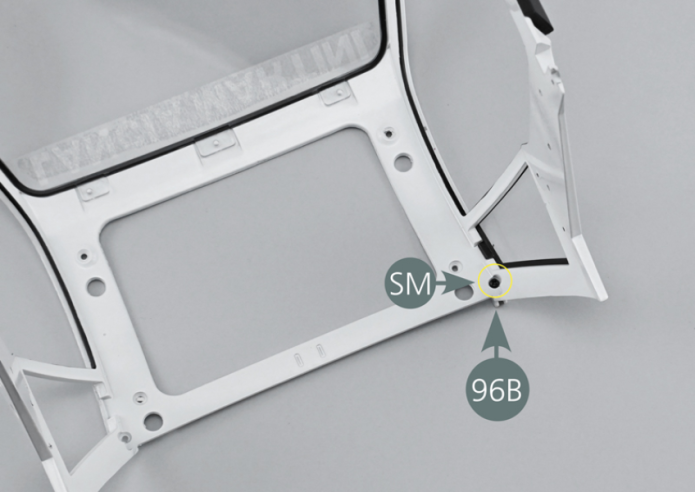
Positionner la charnière supérieure arrière gauche 96B dans le trou situé sur l’extérieur supérieur gauche de la carrosserie 93A (cercle jaune). En la maintenant, la fixer ensuite depuis l’intérieur de la carrosserie avec une vis SM comme indiqué sur la photo.

Vue générale
Position the left rear upper hinge (96B) in the opening located on the left upper exterior of the central body (93A) (yellow circle). Keeping it in place, then secure from the inside of the body with an SM screw as shown in the photo.